Docs
Documentation
Guides for getting the most out of Linktanium - tabs, panels, widgets, and more.
My Icons
Upload and manage your own icons.
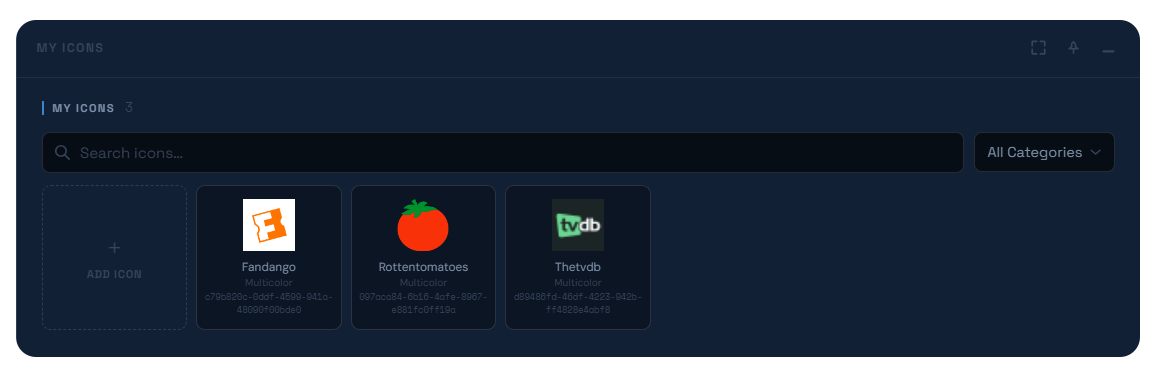
- Open My Icons from the profile avatar menu. It shows a grid of every icon you've uploaded, with search and category filtering.
- Click + to add a new icon, or click an existing icon to edit it.
- This dialog is itself a pinnable dialog, same as Settings and Account.
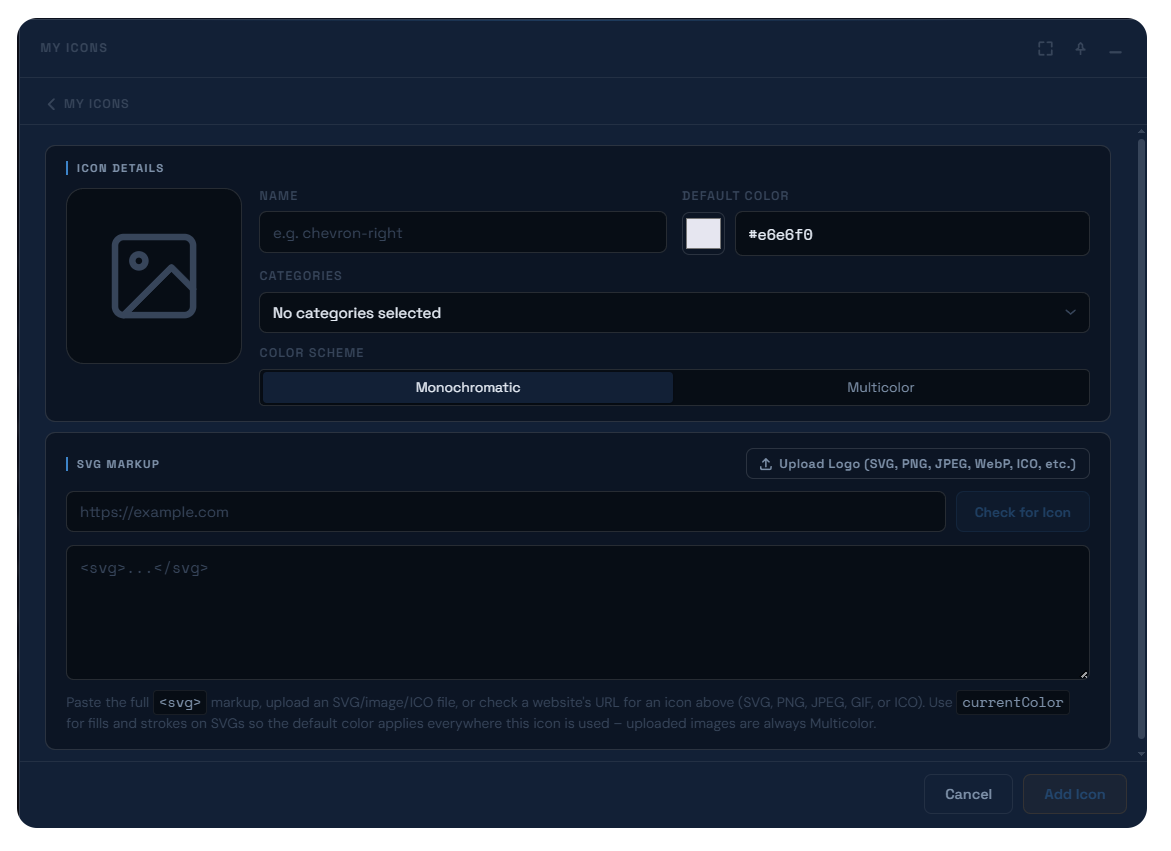
Adding or Editing an Icon
- Give it a Name and a Default Color (color swatch or hex input).
- Assign it to one or more Categories from the filterable dropdown, or type a name and click Add to create a new category on the fly.
- Set the Color Scheme: Monochromatic icons render in your chosen Default Color everywhere they're used; Multicolor icons keep their own original colors, and Default Color has no effect on them.
- Provide the icon itself three ways: paste raw
<svg>markup directly, Upload Logo from a file (SVG, PNG, JPEG, GIF, WebP, ICO, and more), or paste a website URL and click Check for Icon to fetch its icon automatically. - For Monochromatic SVGs, use
currentColorfor fills/strokes so the Default Color actually applies - uploaded raster images are always treated as Multicolor. - A live preview updates as you edit.
Deleting an Icon
- Open the icon and click Delete - you'll be asked to confirm before it's permanently removed.
- There's a 200-icon cap per account.
Actions
Open My IconsProfile avatar → My Icons
Add an iconMy Icons → +
Edit an iconClick an icon in the grid
Fetch an icon from a URLIcon form → paste URL → Check for Icon
Delete an iconEdit icon → Delete → confirm